
Follow these steps to add your Cherry script to your payment plans page in Squarespace
Jump to a section
Adding Cherry script
1. Open your web browser and go to Squarespace. Enter your login credentials to access your account.
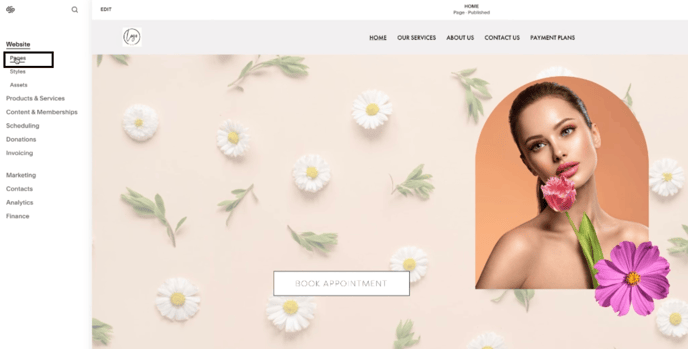
2. Under Website, in the navigational menu, click Pages.
3. Once inside your website editor, locate and click on the Payment Plans page. Scroll down to review the existing Payment Plans section.
4. Add a New Page for Cherry.
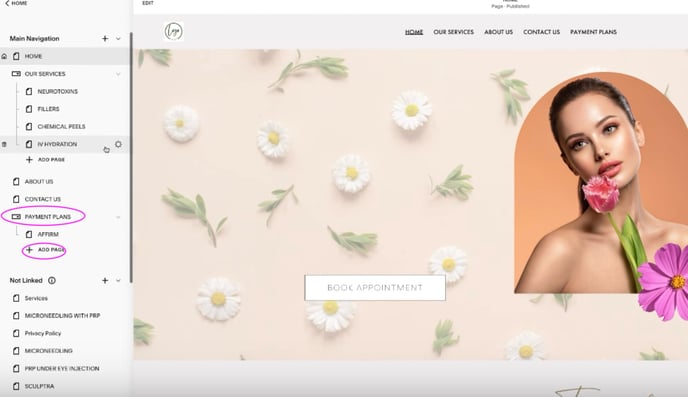
- Click on Add Page.
- Select Blank Page.
- Click the Settings button (gear icon) for the new page.
- Change the Page Title to Cherry.

- Set the Navigation Title as Cherry.
- Set the URL Slug to Cherry.
- Press Enter to save the changes.
5. Edit the New Cherry Page
- Click Edit in the upper left corner.
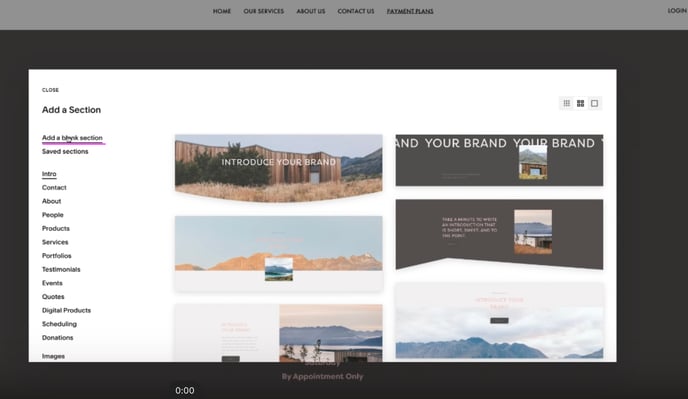
- Click Add Section.
- Select Blank Section
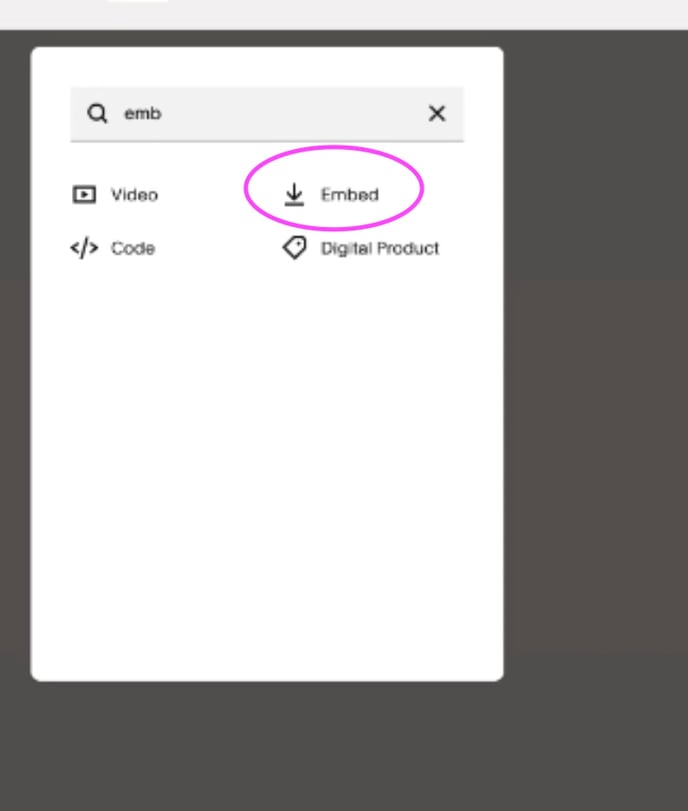
- Click Add Block within the new section.

- In the search bar, type Embed, then click on the Embed block.
6. Insert the Cherry Script
- Click on the Edit Tool (Pencil Icon) inside the Embed block.
- Choose Code Snippet.

- Locate the Embed Data field.
- Copy the Cherry script provided by Cherry.
- Paste the script into the Embed Data field.

7. Adjust and Save the Embed Block. Drag the embed block to resize it (preferably full screen), then click Save to apply the changes.
8. Preview Your Cherry Page
Click Preview to view how Cherry appears live. Ensure the script is displaying correctly.
9. Navigate to the live site to confirm the integration. Test the Cherry script functionality to ensure it works as expected.
Congratulations! You have successfully added your Cherry script to your Payment Plans page in Squarespace.
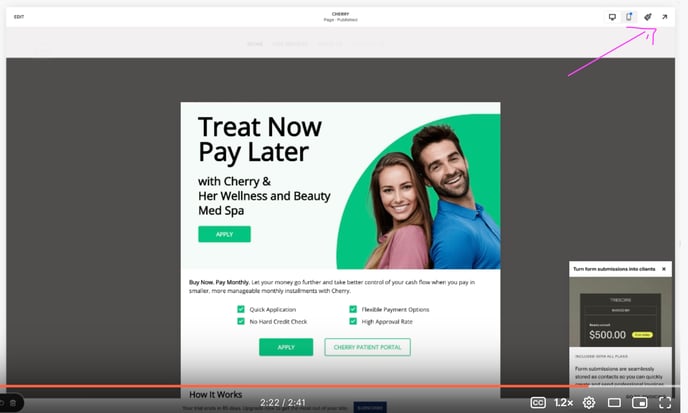
Watch the video below on adding Cherry script to your payment plans page on your Squarespace website.