
Learn how to review / add charting templates, confirmations, and service affirmations
Jump to a section
Navigating to charting templates
Viewing existing notes and attached service types
Adding a new charting template
General charting notes: affirmations & confirmations
Log in to your Moxie Suite account using this link.
Navigating to charting templates
1. Within the Global Nav click Settings > Charting.

2. Click on Note templates.

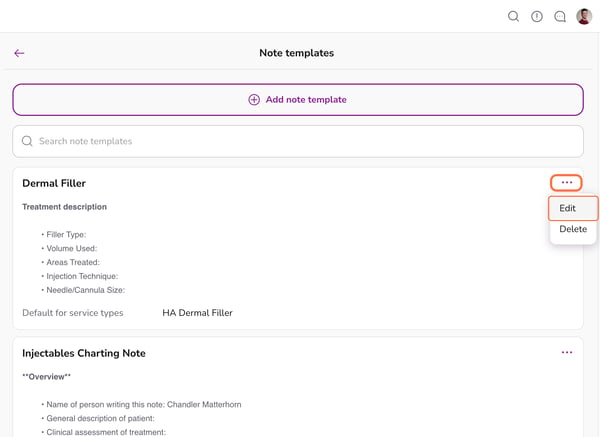
3. On the Note Templates page, you can view all existing notes and the default service types for the charting note at the bottom of each note section.


4. To create a new template click on the Add note template button.

5. On the Add Note Template page, enter a template name, choose the default service types, and add your notes in the body section.


6. When you're finished with the note, click Add in the top right corner.

7. The new note will now appear on the Note Templates page.

8. To edit an existing note, locate the note you want to modify and click the ellipses, then select Edit.
9. Make the desired changes then click on the Save button to finalize the edits.

10. Click on an appointment within the schedule page.

11. On the Overview tab of the appointment, you'll see a list of services associated with it. The charting templates linked to the service types associated with them will automatically appear in the chart section

12. On the Chart tab, you'll find the charting template under the Notes section. In this example, the Dermal Filler note we created is attached because an HA dermal filler service type appointment was scheduled.

13. To add your charting notes for this appointment, click the ellipses and select Edit.

14. A side drawer will open at the top of the page for you to enter your charting notes. Once done, click the Save button.

15. To add a blank note click on the add a blank note button.

16. Add your notes then click on the Save button.

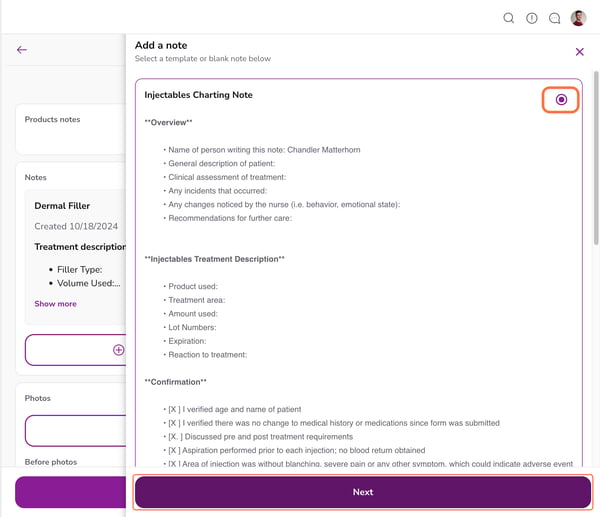
17. To add an additional charting note template click on the Add a template button.

18. Select the desired charting note template then click Next.
19. Edit the charting note then click Save.

20. The new note will then appear on the Notes section of the appointment.

21. Scroll down to the General Charting Notes section. Here, you'll find the provider for the appointment, a general client description, followed by a list of confirmations and service affirmations.


22. Click the Select all button to quickly select all confirmations and service affirmations.

Tada 🙌 you now know how to view and create new charting templates and where to review notes on an appointment.
Watch this video on charting templates, confirmations and affirmations.