
- Help Center
- Moxie Suite
- Clients
-
Moxie Suite
- Accessibility
- Settings
- Clients
- Scheduling
- Payments
- Reports
- Packages, Deposits, & Gift Cards
- Moxie Balance
- Moxie Supplies
- GFEs & Charting
- MBR Reports
- 3rd party applications
- Service Protocols
- Official offerings
- Discounts
- Inventory
- Memberships
- Misc.
- Schedule tab
- Charts tab
- Services & Products
- Resources
- Education
- Moxie Bookkeeping
- Compliance Hub
- Cherry
- Scripts
-
Onboarding with Moxie
-
Changelog
-
Marketing Services
-
FAQ
-
Medical Director
-
Compliance
-
Squarespace
How do I create side-by-side photo comparisons of a client?
You can now select multiple photos in Moxie Suite and create an instant collage comparison
We are very excited! In a few seconds, you can now create an instant collage of your client's photos. This is perfect for "Before" and "After" comparisons.
- Log in to your Moxie Suite account using this link.
- Make sure you're on the default "Schedule" tab.
- Locate the appointment of the client whose photos you would like to compare. Click into the appointment.
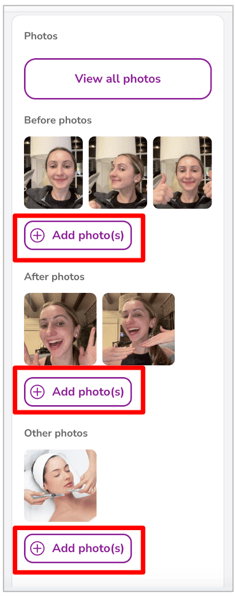
- Find your way to the "Photos" section of the appointment page.

- If you have not yet added the photos you want to compare, do so now by clicking the "Add Photos" buttons.
- Click "View all photos".

- Click "Select photos for comparison".
- Select the photos you want to compare. You can select between 2-4 photos. Note: the photos will appear in the collage in the order that you select them.
- Click "Compare".
- Your collage is ready to go!

Note: if you only want to compare photos, you can also do this on the client profile! But if you want to add photos, you must do this on the appointment.