
A guide to customizing your email preferences and adding additional contacts to receive notifications.
Jump to a section
Accessing notification settings
Editing notification categories
Accessing notification settings
1. Log into Moxie Suite, and from the left-hand Global Nav, select Settings > Notifications.

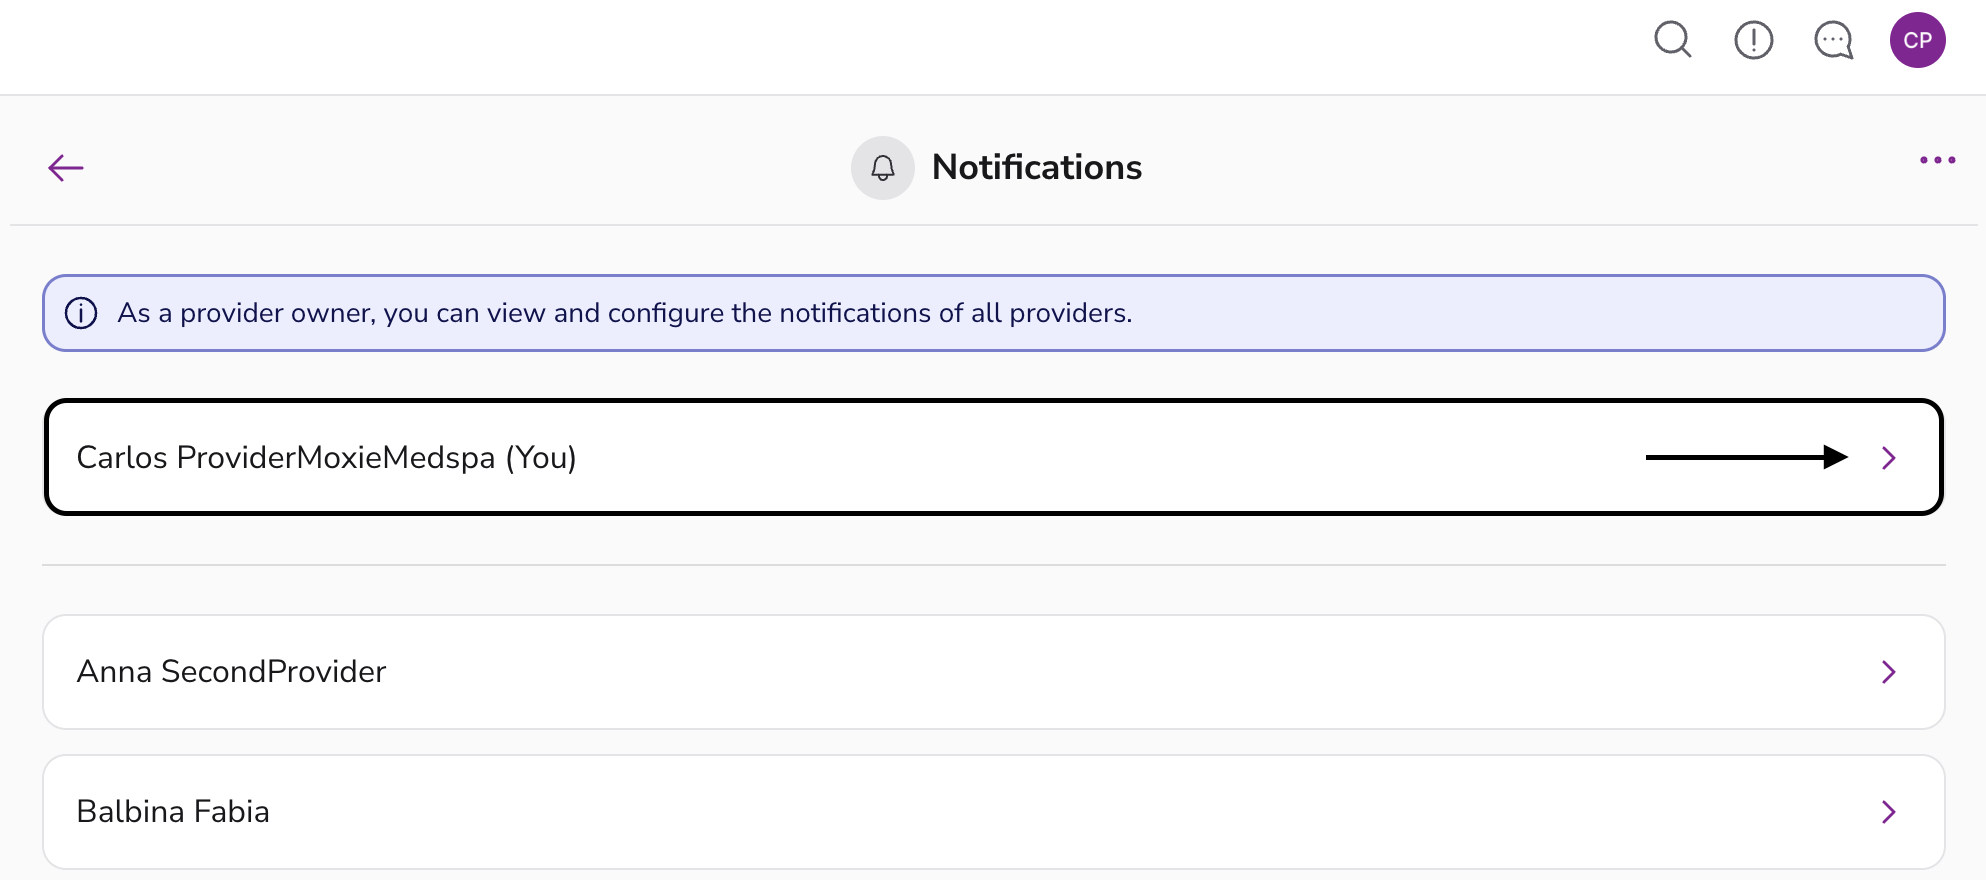
2. On the Notifications page, if you're a provider owner you'll see a list of all providers at your practice. Not only can you edit your email notifications you can also you can view and configure the notifications of all providers. Click on a name to continue.
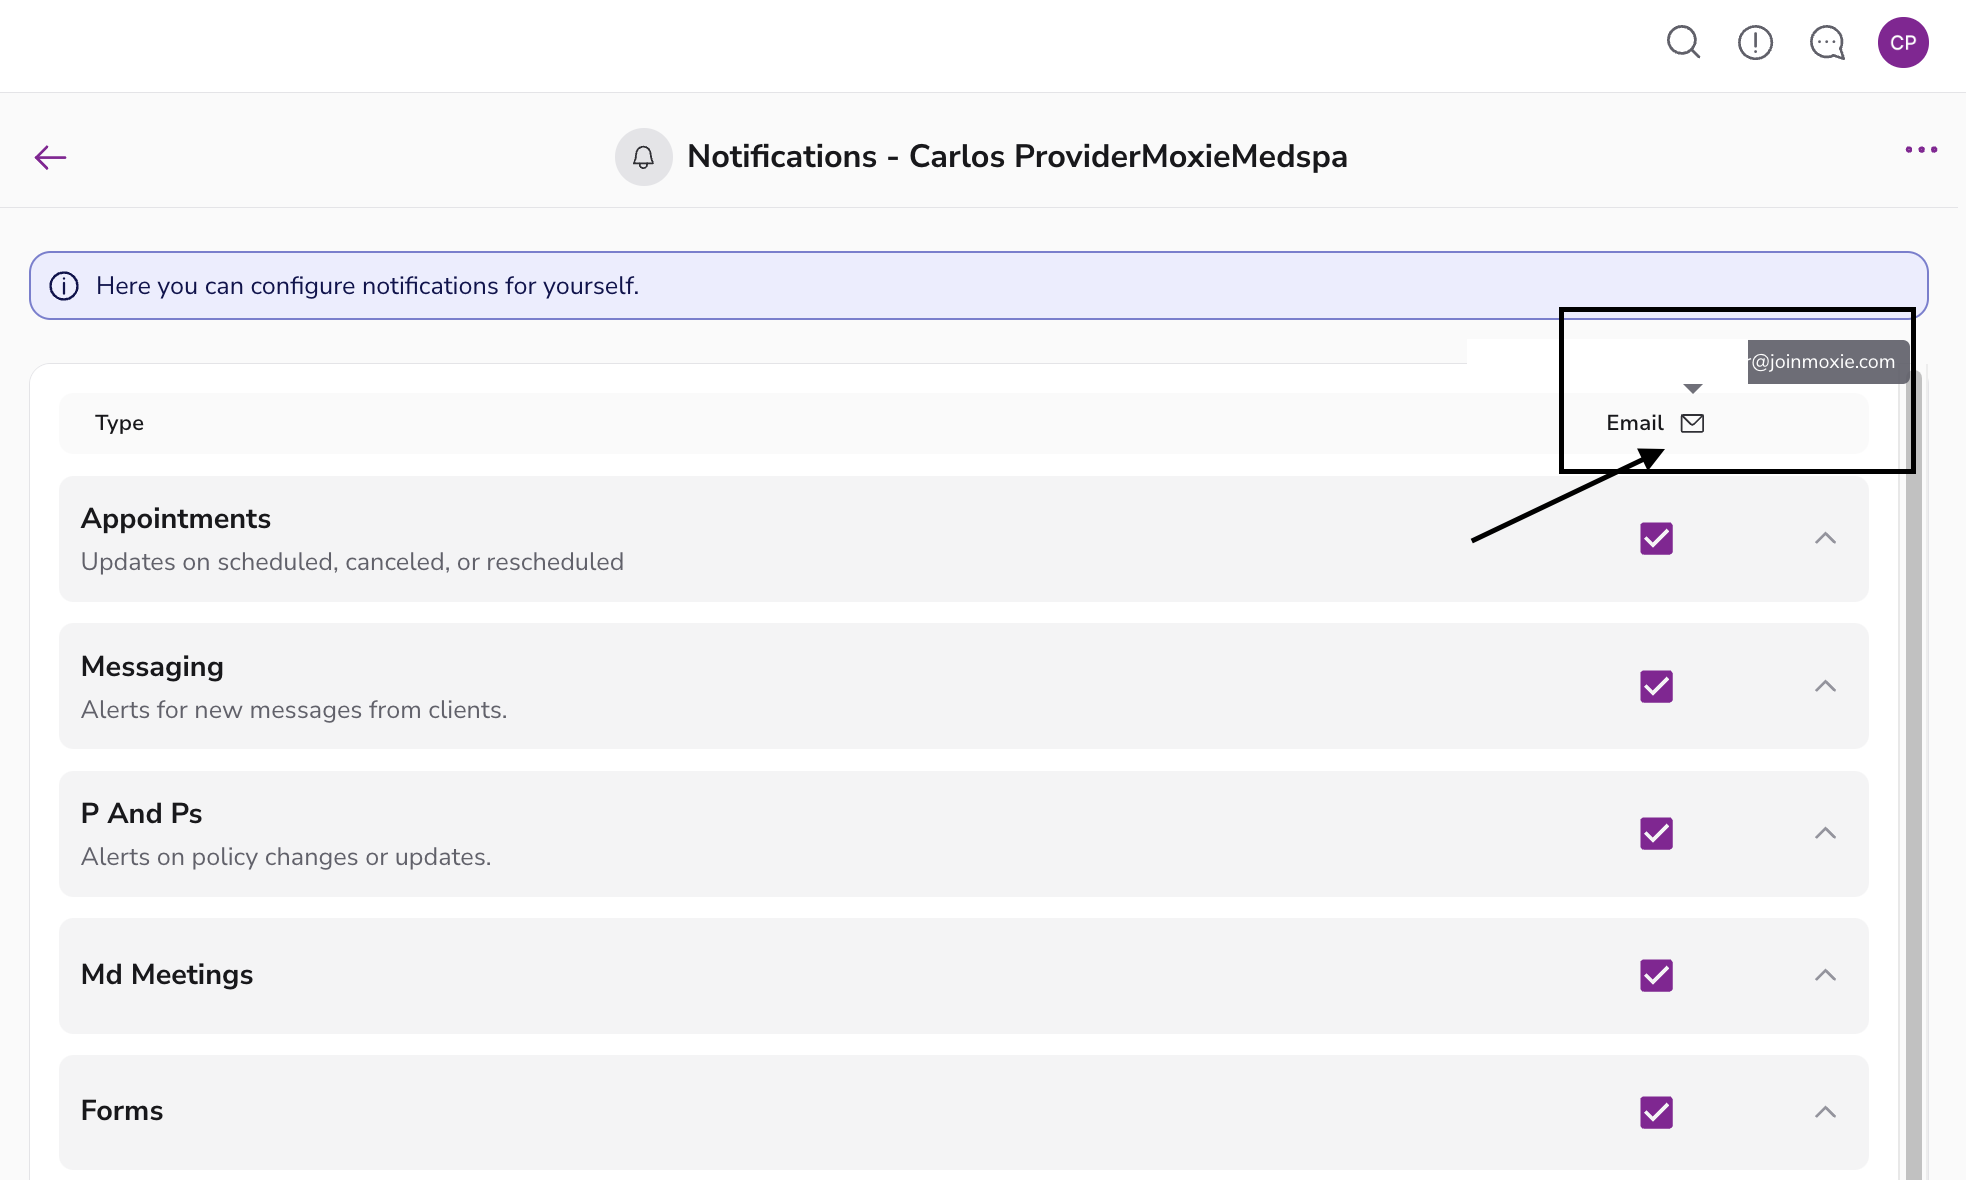
3. By default, you’ll see only your primary email address and can confirm the address by hovering over the email icon.
Editing notification categories
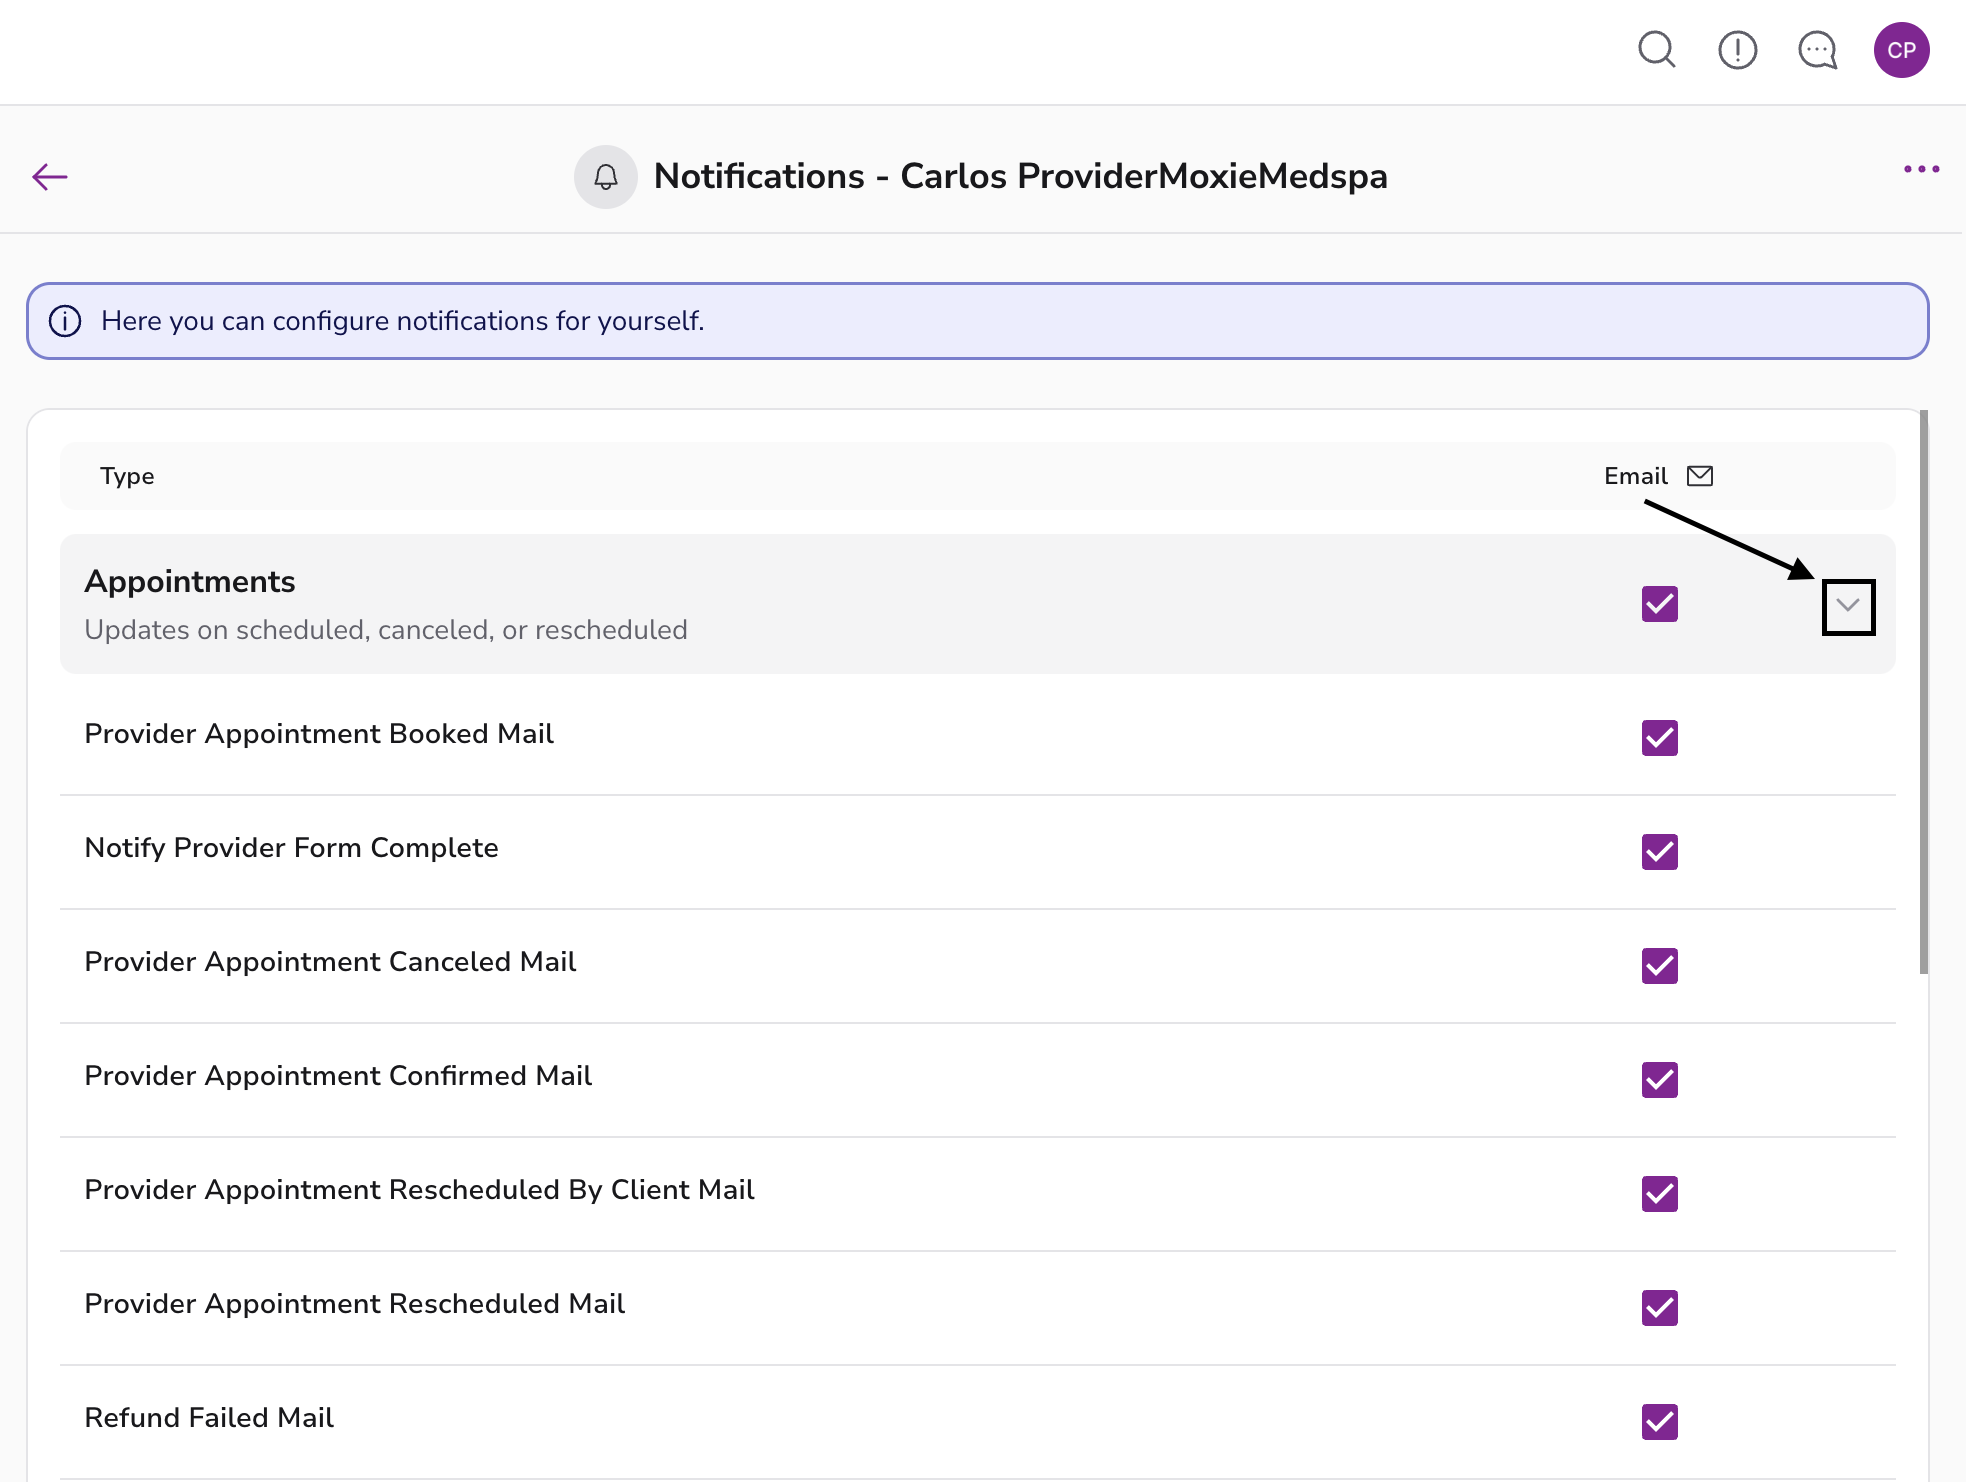
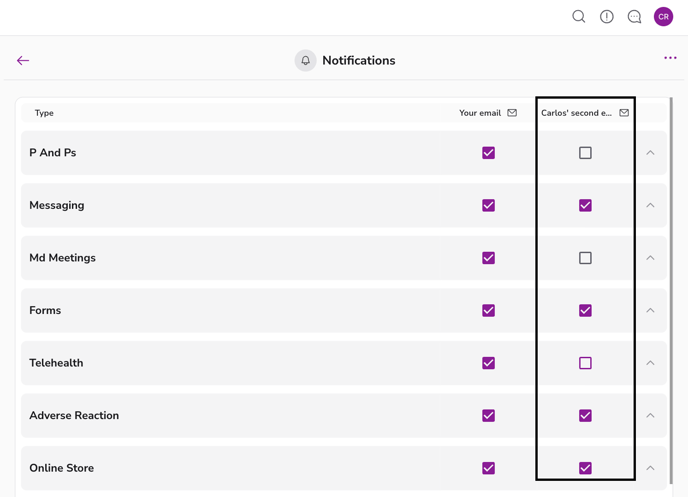
1. Expand a category by clicking the card. You’ll see individual notification types within that category.
2. Toggle the checkboxes to turn notifications on or off:
All on: The category’s checkbox appears fully checked.
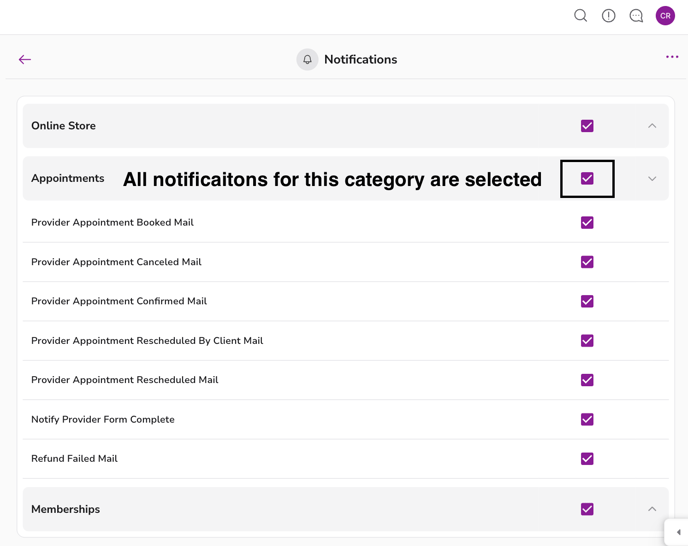
Partially on: The category’s checkbox shows a dash (–) symbol (some notifications are enabled, others disabled).

All off: The category’s checkbox is empty.
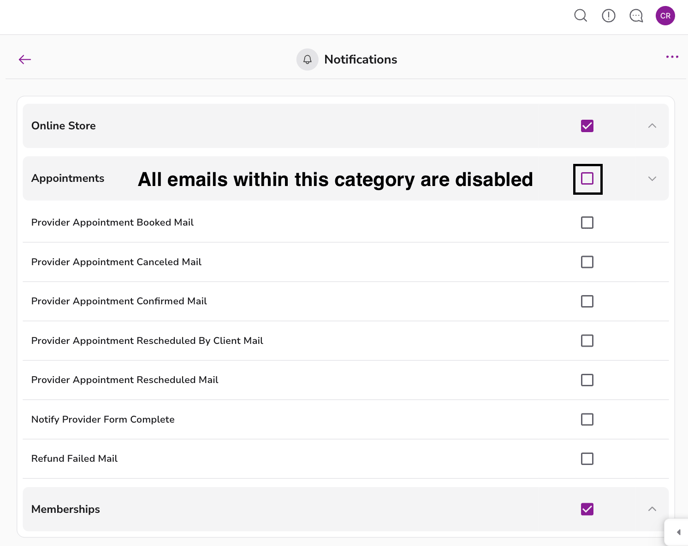
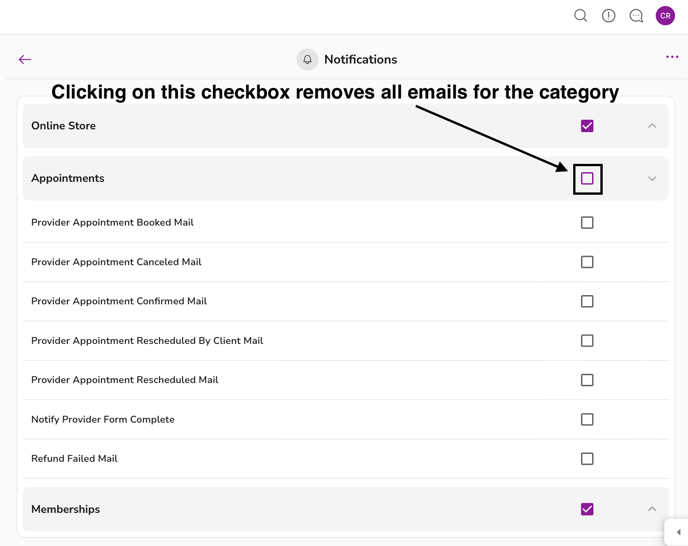
To disable all notifications across a category at once, simply click the category checkbox instead of a specific email type.
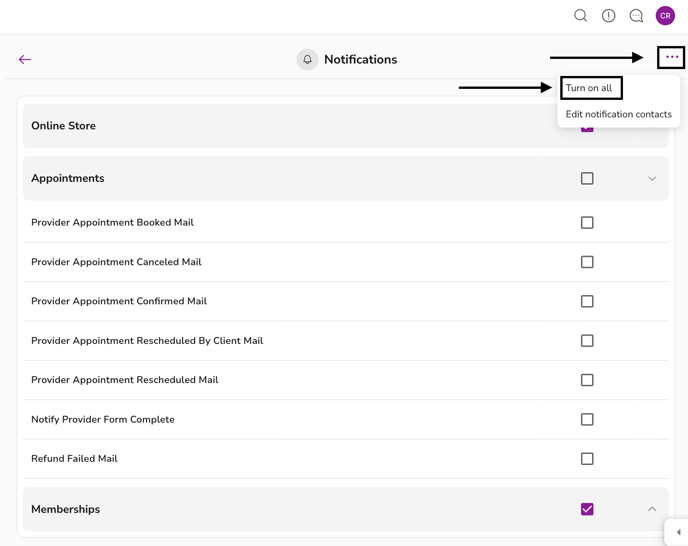
3. To enable notifications for all emails at once, click the ellipsis (...) in the top-right corner > Turn on all.
Adding and removing contacts
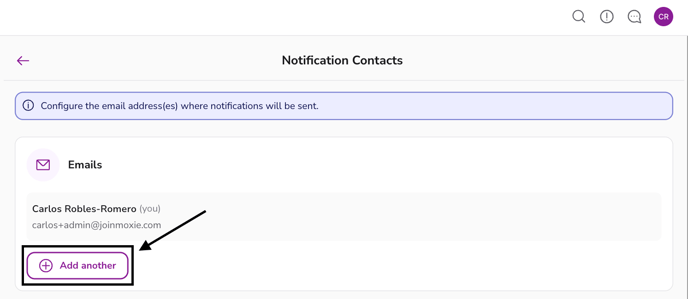
1. In the top-right corner of the Notifications page, click the ellipsis (...) > Edit notification contacts.

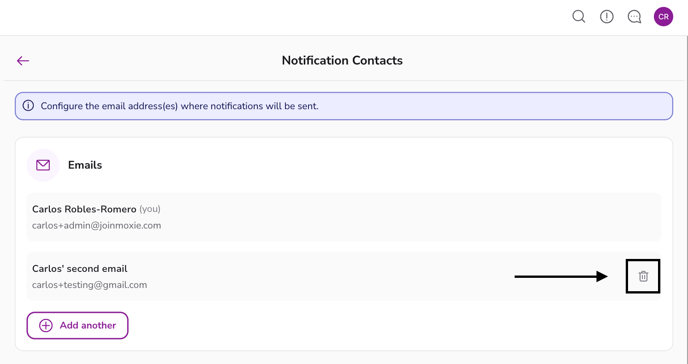
2. On the Notification Contacts page, you’ll see:
Primary email address (labeled as you)
Any additional emails you’ve added, each with a trash icon next to it. (the first time you visit this page, it will only contain your Moxie Suite login email)

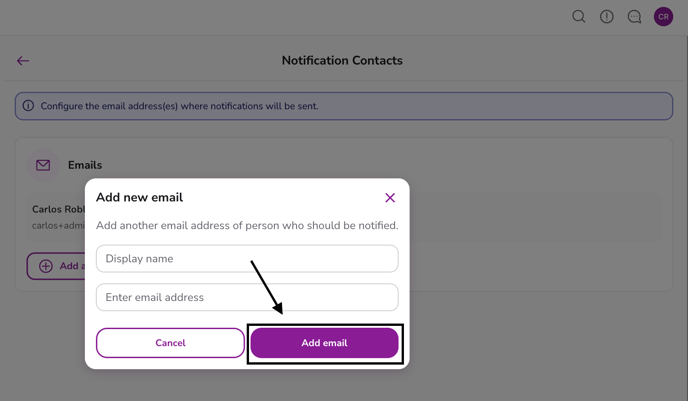
3. To add a new contact, click + Add another.
4. On the popup, enter the desired display name and email address > Add email.
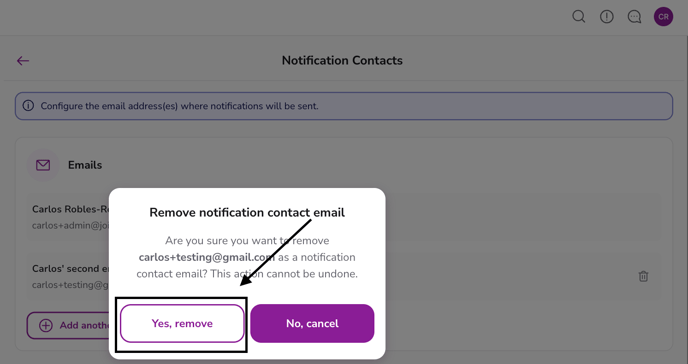
5. the new email will appear on this page. If you ever need to remove a secondary email, click on the trash icon > Yes, remove.
6. Once additional emails are added, they appear as new columns on the Notifications page. You can independently toggle each contact’s notifications.
FAQs
Q: Can I disable all notifications for myself but keep them on for another contact?
A: Yes! Simply uncheck the boxes for your own email column while leaving the boxes checked for other contacts.
Q: I want to revert my settings after making changes. Is there a quick way to turn everything back on?
A: Absolutely. Click the ellipsis in the top-right corner and select Turn On for All to re-enable every notification for every contact.
Q: Can I add more than one extra contact?
A: Yes. You can add multiple additional contacts; just repeat the new contact creation steps for each new email address.
Q: Are the updates immediately applied?
A: Yes, once saved, the changes to your notification preferences or contacts are effective immediately.
Watch this video below on customizing email notifications