
A Guide to Checking Out Patients Who Finance Through Cherry
Jump to a Section
Haven't you signed up for a Cherry Account yet? Use this link to schedule a demo and receive Cherry's best rates pre-negotiated by Moxie exclusively for you.
Checkout Process
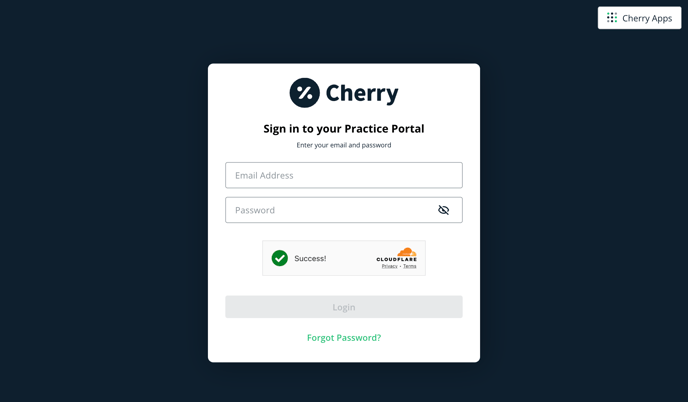
1. Visit the Cherry Practice Portal and sign in with your credentials.
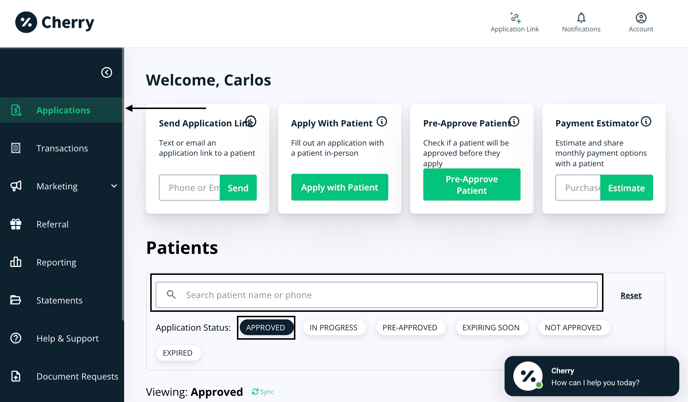
2. In the Practice Portal, navigate to the left-hand menu and select Applications. Scroll down to the Patients section and ensure that the application status is set to Approved. Use the search bar to find the specific patient you need.
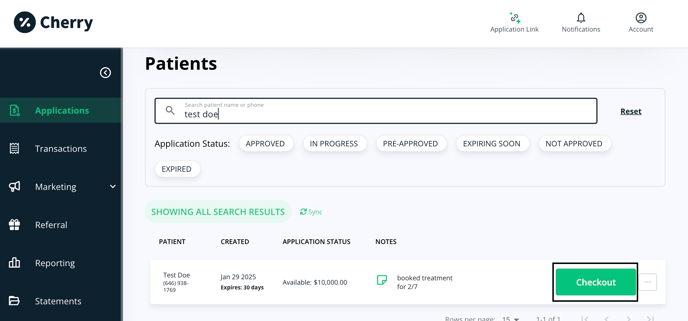
3. After locating the patient click Checkout
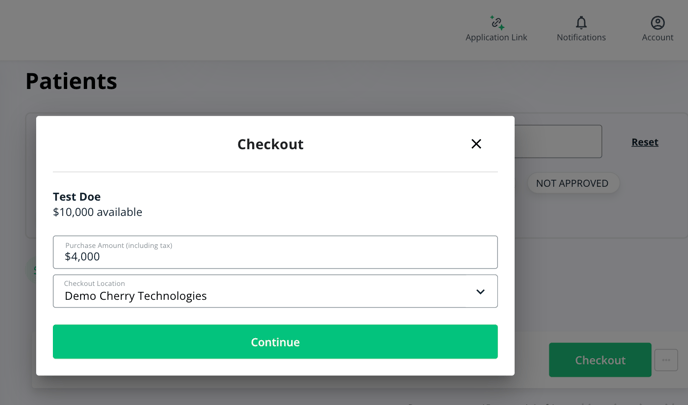
4. In the Checkout popup, enter the total treatment cost, including any applicable taxes, and confirm the practice location before clicking the Continue button.
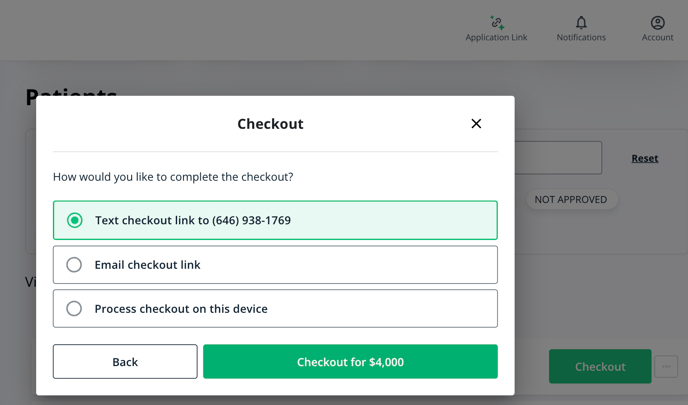
5. On the next screen, choose how you want to send the payment link before clicking the Checkout for [dollar amount] button.
-
-
Text the link to the patient's mobile number
-
Emailing the checkout link
-
Or complete the checkout on the current device.
-
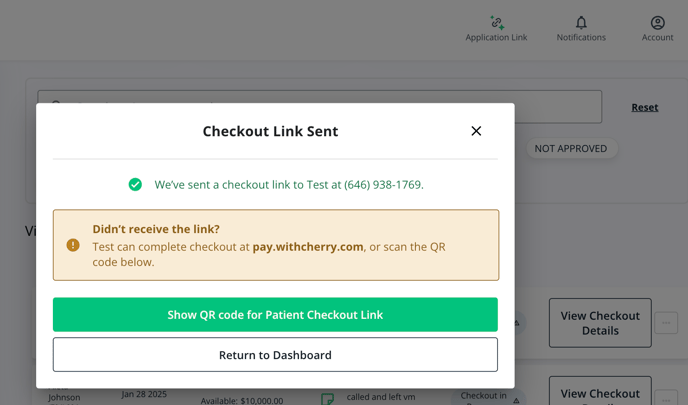
6. The patient will receive a checkout link to finalize their transaction. If the text message or email does not go through for any reason, you can also display a QR code that links directly to the patient's checkout page.

7. Once the patient finalizes their financing, it will appear under the Transactions tab

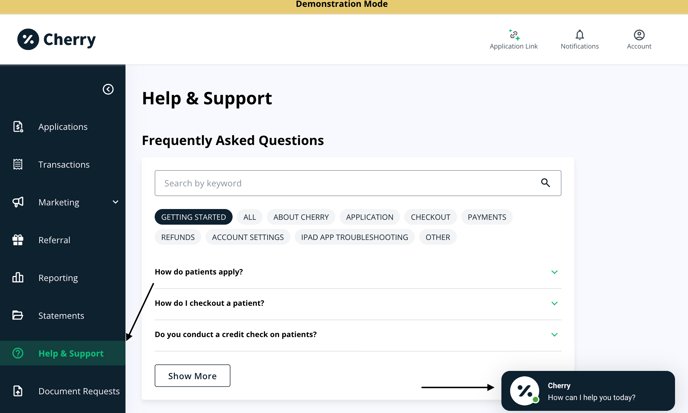
If you have other questions regarding Cherry, reach out to their support team by clicking on the Chat app or reviewing their help center article, which is available on the Help & Support page.
Don’t Forget Moxie Suite
After you wrap up a Cherry transaction, record the payment in Moxie Suite to keep your reporting and accounting accurate. This helps ensure your revenue data stays up to date and simplifies tax-season prep.
Watch this Loom on checking out a patient who financed their purchase through Cherry.